
This guide explains how to use the Basket screen in the self-checkout (SCO) system. The Basket screen displays when customers have products in their ticket and switch from POS to SCO mode, allowing them to view and manage their selected items before proceeding to payment. This screen provides a comprehensive view of their transaction and offers tools to modify their order as needed.
Basket screen overview
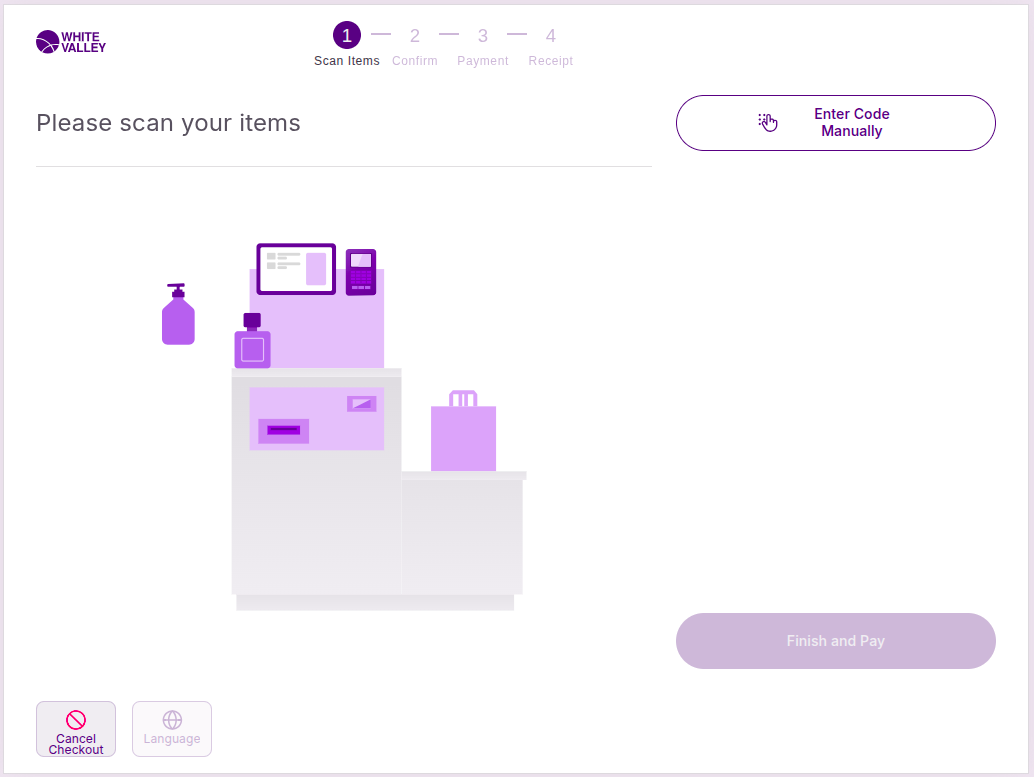
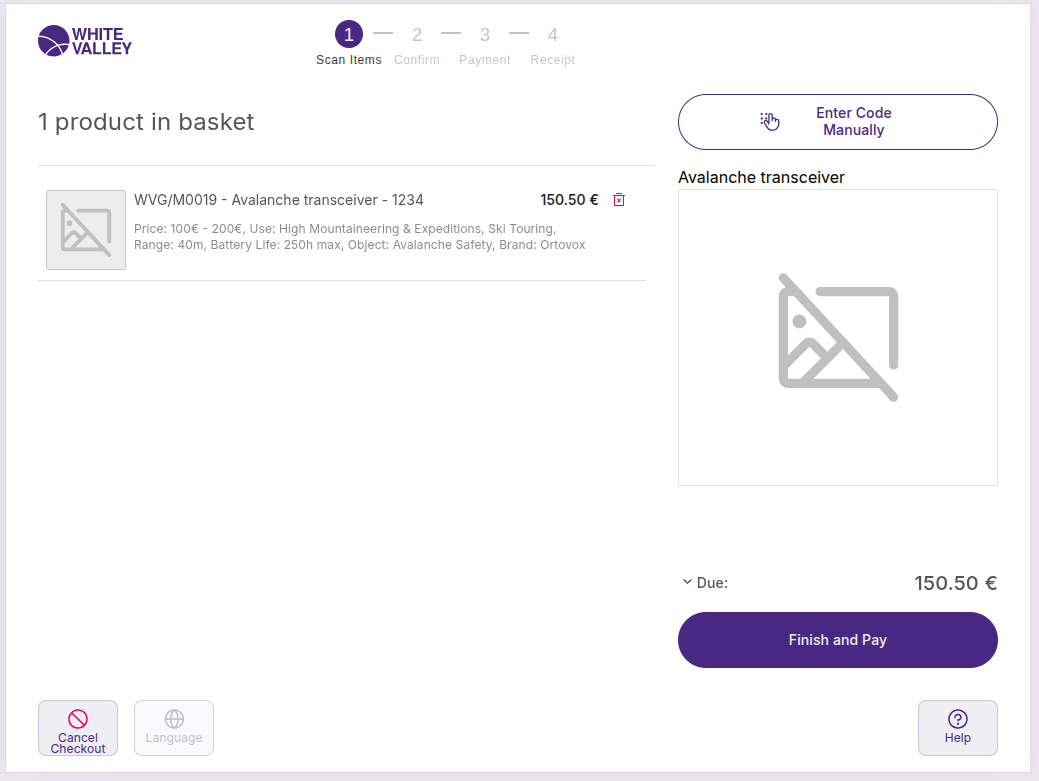
The basket screen appears when customers have scanned or added products to their transaction. This screen displays all items in the current order and provides options for managing the transaction before proceeding to payment.
If products have been added to the ticket in POS mode before switching to SCO, the basket screen will be displayed instead of the Welcome screen when the SCO button is clicked.
View their selected products
Product display
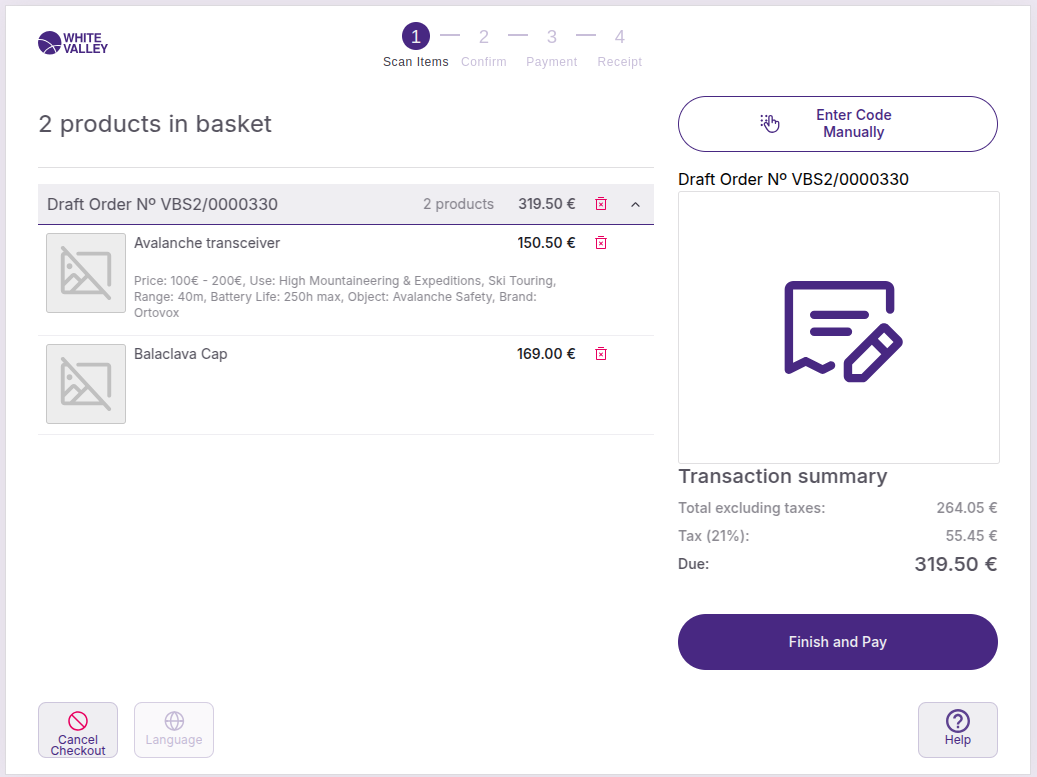
Customer scanned items appear on the left side of the screen, showing detailed information for each product:
-
Product image
-
Product name
-
Product price
-
Product description
-
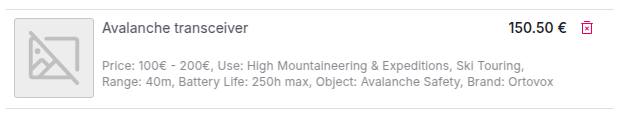
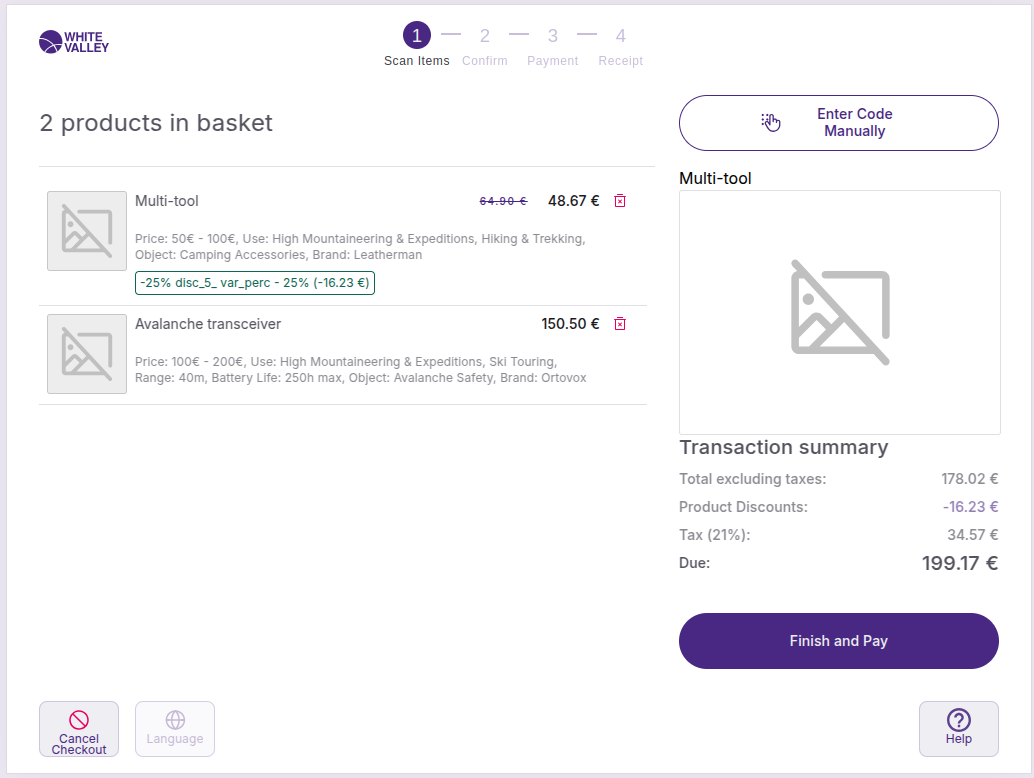
Applied discounts (if any)
Product images
Different display formats appear based on the product type:
-
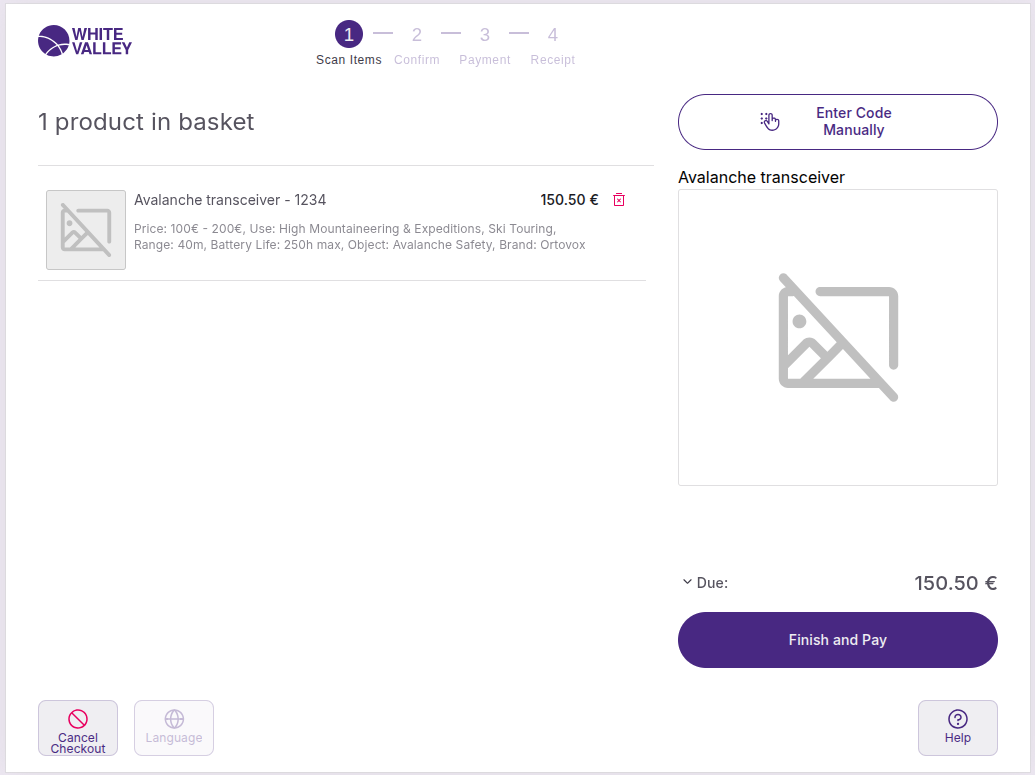
If the product doesn't have an associated image, it will appear with a placeholder
-
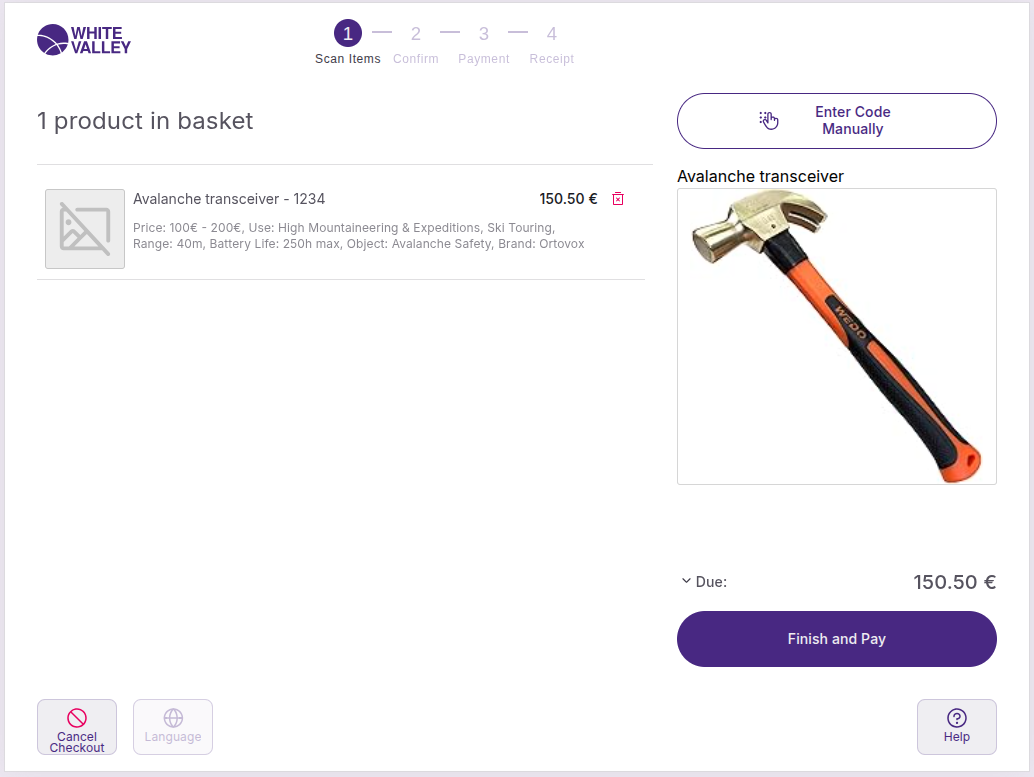
If the product image has any issue and can't be rendered, it will appear with an error indicator
-
Orders will appear with a specific order icon

Product information display
The system may show additional product details based on store configuration:
Search key display
Product search keys may appear before the product name when this option is enabled. This provides customers with additional product identification information.
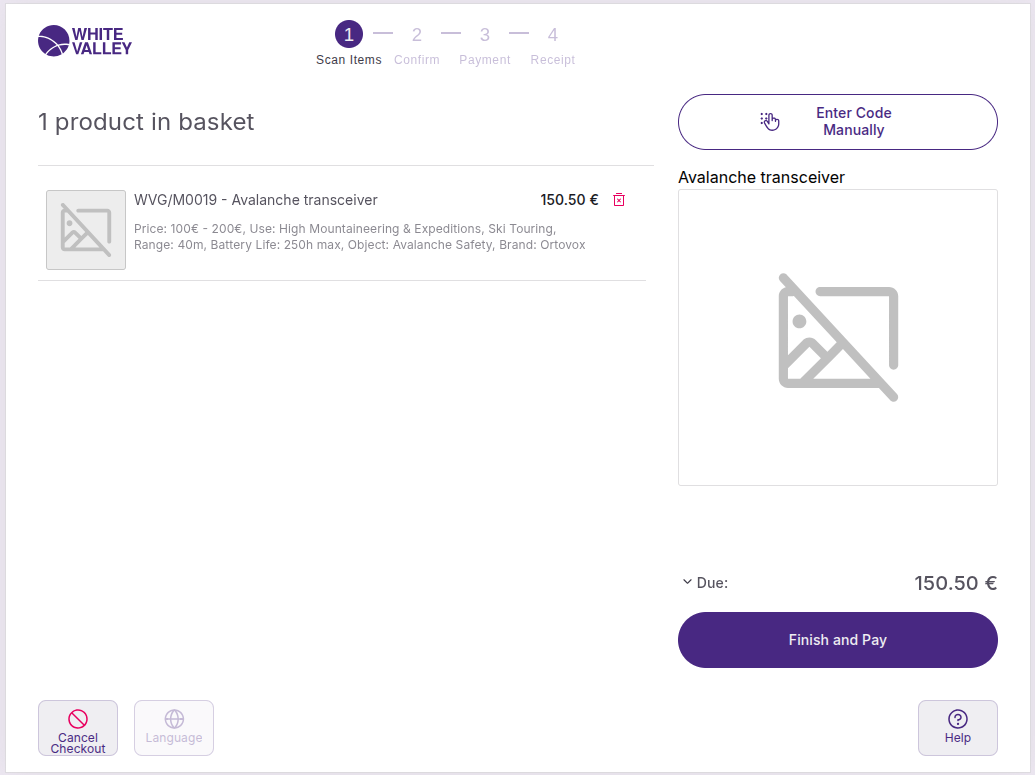
UPC/EAN display
UPC/EAN codes may appear after the product name when this option is enabled. This shows customers the product's barcode information for verification.
Combined display
Both options can be active simultaneously, displaying both search keys before the product name and UPC/EAN codes after the product name for complete product identification
Non-unit products
For products sold by weight or measure, the display follows specific rules:
-
The quantity is not displayed in the ticket line of the product
-
The description contains the quantity followed by the unit of measure if defined
-
If no unit of measure is defined, it should be followed by 'Qty'
-
The total quantity calculation includes all individual items plus any non-unit product quantities
Products with services
Products that have associated services are handled differently in SCO. Instead of displaying them as service products, they are simply added to the basket and appear as regular products.
Customers will see these products in their basket with the same display format as standard products, showing the product image, name, price, and description without any special service indicators.
Manage the basket
Remove items
Each line of the ticket can be deleted by clicking on the red paper bin icon located to the right of the line price.
Each item can be removed individually, allowing customers to adjust their selection before proceeding to payment.
Add more products
Customers can continue adding products to their basket using these methods:
-
Scan additional product barcodes
-
Use the 'Enter code manually' button to add products by code
-
Scan external orders or draft orders to merge with their current transaction
Cancel their transaction
When the 'Cancel checkout' button at the bottom left of the screen is clicked, the current ticket is deleted, and the flow returns to the Welcome screen.
Customers use this option when they want to start over completely or abandon their current transaction.
Recently added items
Last added element display
The system shows which element was the last added to the basket, displayed on the right side of the screen.
Different display formats appear based on the item type:
-
Standard products: Show product image and details
-
Items without images: Display a placeholder icon
-
Items with image issues: Show an error icon
-
Orders: Display an order icon
Proceed to checkout
Finish and pay
When the 'Finish and pay' button at the bottom of the transaction summary is clicked, the confirmation step is reached. This action moves customers forward in the checkout process toward payment.
Before proceeding, customers should review their basket contents and transaction summary to ensure everything is correct. Once they click this button, they’ll move to the confirmation window where they can finalize their purchase.