
This guide explains how to use the Welcome screen in the self-checkout (SCO) system. The Welcome screen is the first interface customers see when beginning their shopping transaction, designed to provide a friendly greeting and enable them to start order completion. This screen serves as the entry point to the self-checkout process and appears throughout the SCO flow to guide new customers.
Welcome screen overview
The Welcome screen is the first screen that appears in the SCO system. Its primary purpose is to make customers feel greeted and provide a clear starting point for their transaction. This screen displays a welcoming interface that encourages customers to begin their shopping experience.
The Welcome screen can be configured to display in two different modes depending on the store configuration. Additionally, payment method images may appear at the top right corner when configured.
When the welcome screen appears
The Welcome screen displays automatically in these situations:
-
When switching from POS to SCO mode without products in the ticket
-
After completing an order and the transaction finishes
-
When starting a new SCO session
-
After canceling an ongoing order using the 'Cancel checkout' button
Note: If products have already been added to the ticket in POS mode, the system will show the Basket screen instead of the Welcome screen when switching to SCO.
Start their transaction
The Welcome screen can operate in two different modes depending on the configuration:
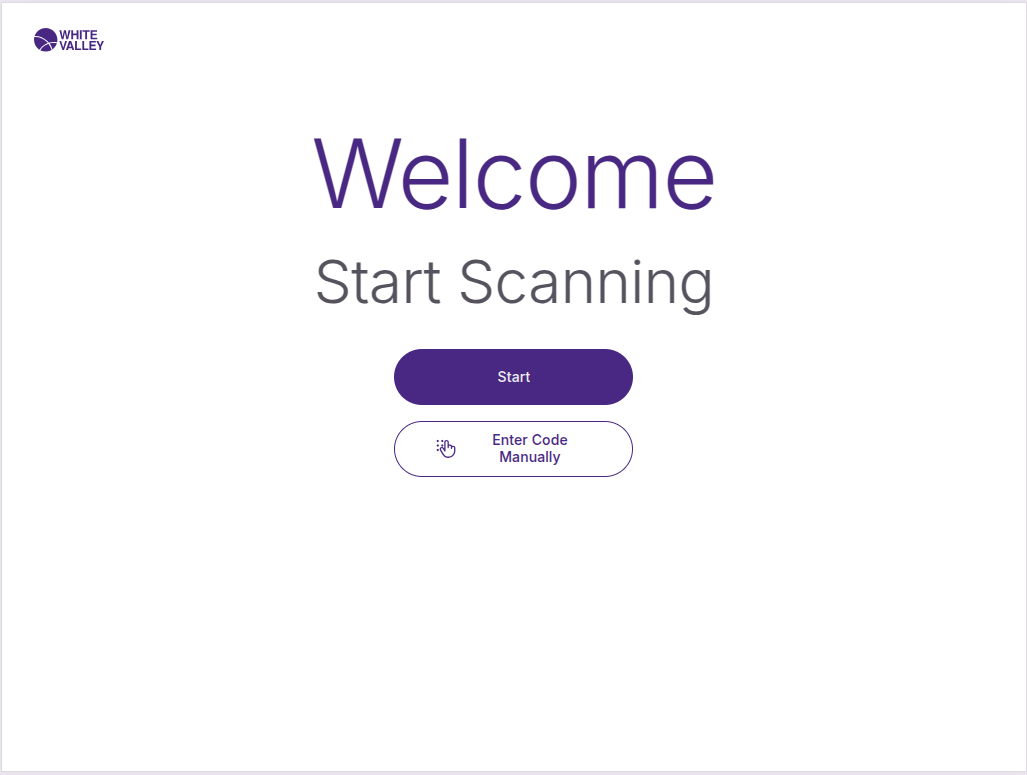
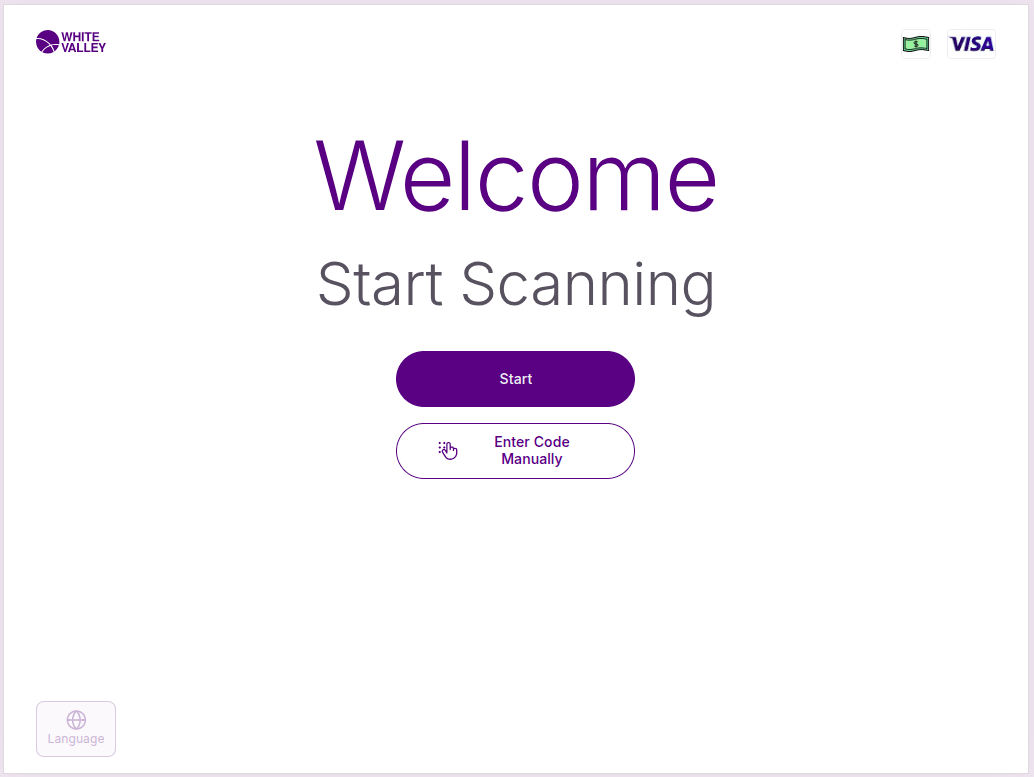
Default welcome screen
The Welcome screen provides a simple way to begin the shopping experience. Customers can click anywhere on the screen to proceed to the scanning window where they can start adding items to their basket.
The entire screen surface is interactive, making it easy for customers to proceed regardless of where they touch or click. This design ensures accessibility and ease of use for all customers.
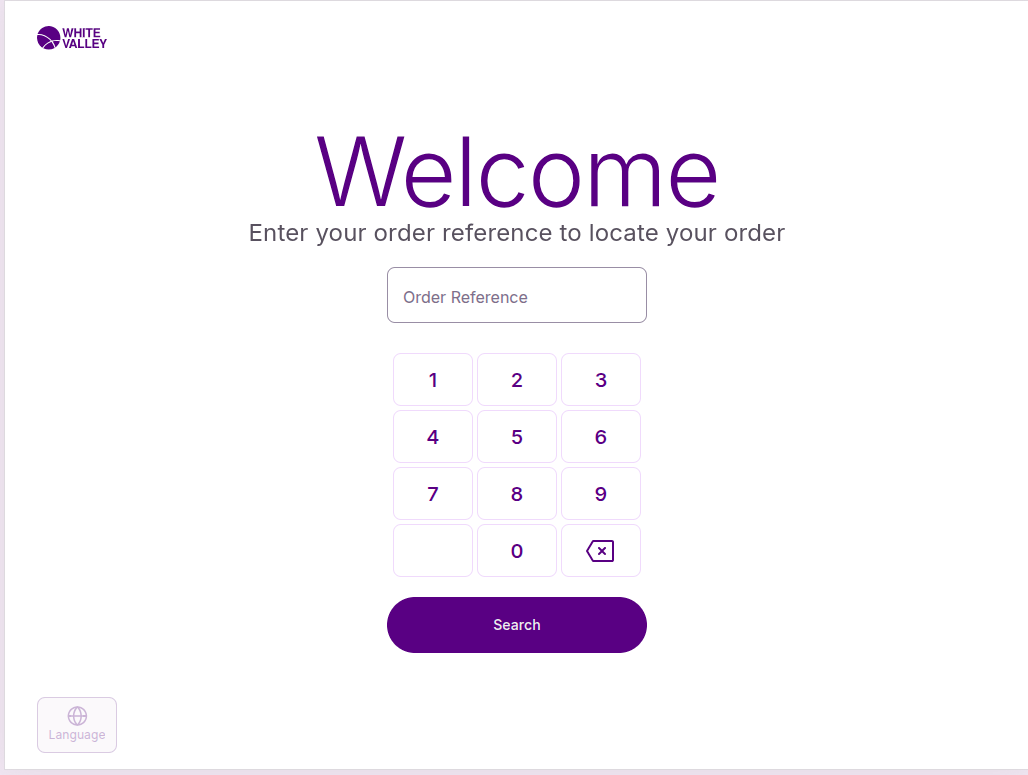
Start by searching mode
When the 'Start by searching' configuration is enabled, the default Welcome screen changes to a specialized order search interface. This mode allows customers to search for existing orders only, rather than starting new transactions or scanning products.
The search interface displays different keyboard types based on the configuration selected:
Numeric search. When configured for numeric search, the Welcome screen displays a numeric keyboard for number-based order searches.
Alphanumeric search. When configured for alphanumeric search, the Welcome screen displays an alphanumeric keyboard for text-based order searches.
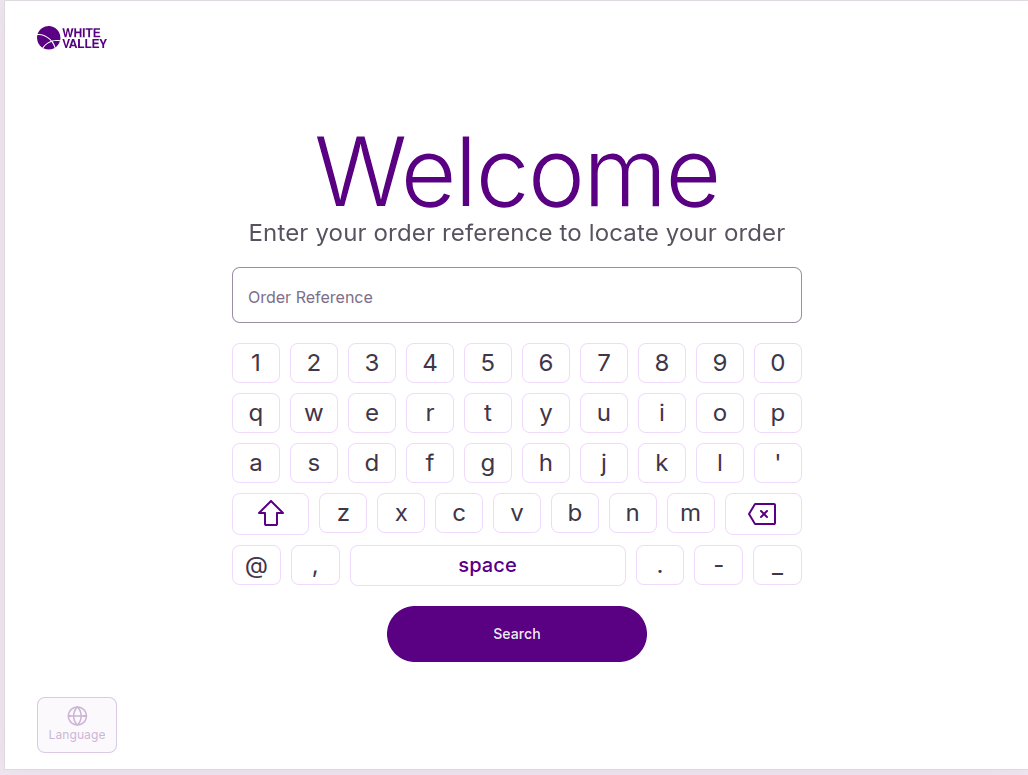
This specialized interface focuses specifically on order search functionality, providing customers with the appropriate input method for their search criteria while maintaining the intuitive self-service experience.
Additional options
Depending on store configuration, the Welcome screen may offer additional functionality:
Start button
Customers can click the 'Start' button to proceed to the Scanning window where they can begin adding items to their basket.
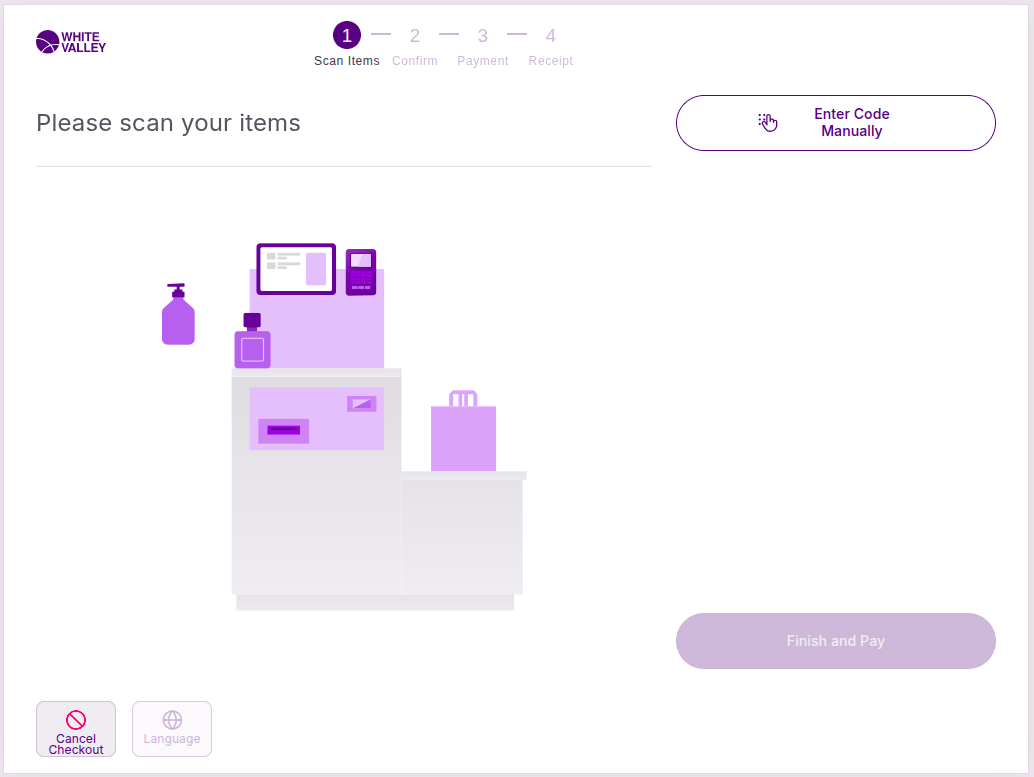
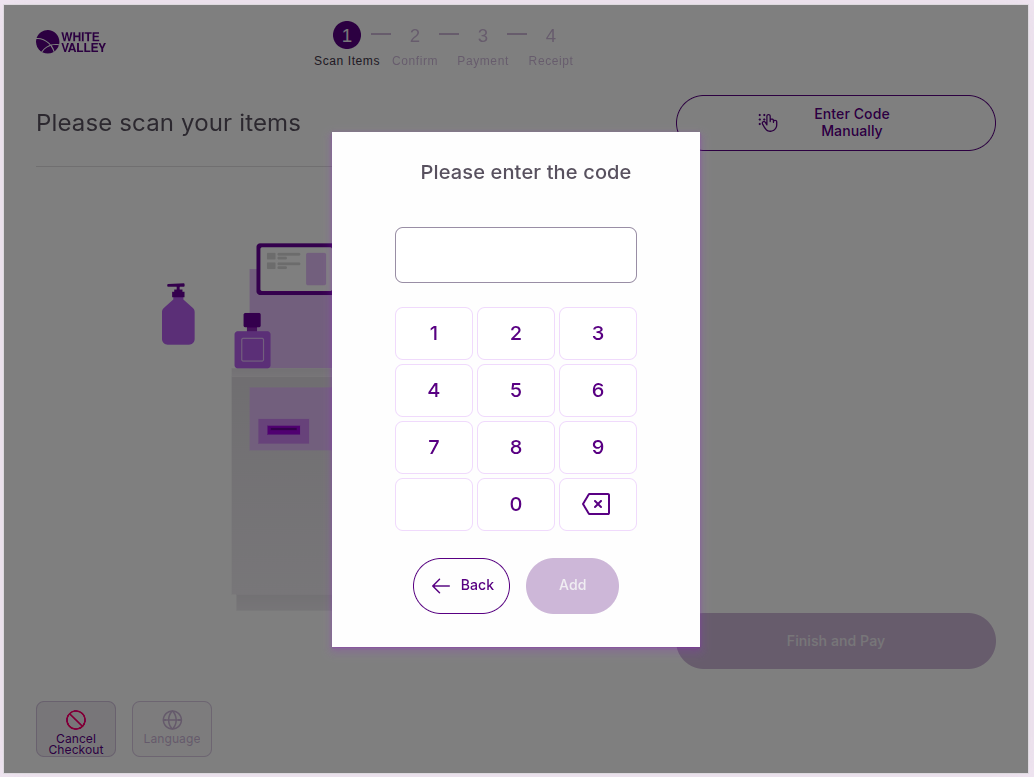
Enter products manually
The 'Enter code manually' button allows customers to add products without scanning barcodes. This option is useful when:
-
Product barcodes are damaged or unreadable
-
Customers prefer to enter product codes directly
-
Items don't have scannable barcodes
Clicking this button opens a popup window where customers can enter the product code directly.
Payment method display
At the top right corner of the Welcome screen, images of supported payment methods can appear. These payment method images are displayed based on back office configuration and help customers understand which payment options are available for their transaction.
Navigation and flow
The Welcome screen maintains a clean interface to avoid overwhelming customers while providing clear direction on how to proceed. From this screen, customers can:
-
Access customer identification options (located at the top right corner)
-
Begin product scanning or manual entry
-
Start their transaction using any of the available methods
-
Search for orders when configured to do so
The screen serves as a central hub that customers return to after completing transactions, ensuring a consistent experience for each new user.